Deploying a Java EE Web Application to OpenShift ExpressOpenShift Express is RedHat’s free PaaS that allows Java EE 6 applications to be deployed to a JBoss AS 7 instance. In this article I’m going to show how to create an application on OpenShift Express and then deploy a Java EE 6 Web Application to it. This article assumes that you've already signed up to OpenShift Express.
 Configure The Local EnvironmentThe first stage to deploying an application on OpenShift Express is to install the local environment. This enables the RedHat tools to be used to control the application instance. Since I’m using Windows, I’ll discuss that here, but Linux and MacOSX are also supported.
To use the RedHat tools, Cygwin is needed. If you’ve not got this installed, head on over to http://cygwin.com and install it. You’ll need to ensure that the following packages are installed in addition to the “standard” base install.
To install the RedHat tools, RubyGems is needed. This can be downloaded from http://rubyforge.org/projects/rubygems
Once you’ve downloaded RubyGems and got a Cygwin shell running, you need to install RubyGems. From a Cygwin shell type (changing the path to the RubyGems download as appropriate):
ruby /cygdrive/D/DevTools/rubygems-1.8.8/setup.rb Upon successful completion, the RedHat OpenShift Express tools can be installed by executing:
gem install rhc
Configure Remote EnvironmentHaving successfully configured the local environment, we need to create a domain for hosting our Java EE application. This is achieved using the rhc-create-domain command:
rhc-create-domain -n <domainName> -l <yourId> -p <yourPassword> Where:
Having created a domain, an application needs to be created. This is achieved with the rhc-create-app command:
rhc-create-app -a <appName> -t jbossas-7.0 -p <yourPassword> Where:
Note the use of the “-t” parameter here to specify that we wish to use the JBoss AS 7 cartridge to allow Java EE applications to be deployed.
You should now see that a directory <appName> has been created at your current working directory that is a GIT repository allowing deployments to be made and pushed to the OpenShift Express server).
OpenShift Express allows two types of deployment, either source code based or deployment file based. In this example I’m looking at deployment based (i.e. I’m going to deploy a locally developed .WAR file) so the Maven project created by default by the rhc-create-app command is not required.
Since I’m deploying a .WAR file, the generated Maven project is not required and can be removed from the local GIT repository by the following command
cd <appName>
git rm -r src pom.xml
To deploy a .WAR file, copy the .WAR file into the deployments directory and then commit and push the repository up to the OpenShift Express servers. If you want the application to be deployed as the root of the domain, then the .WAR file must be called ROOT.war
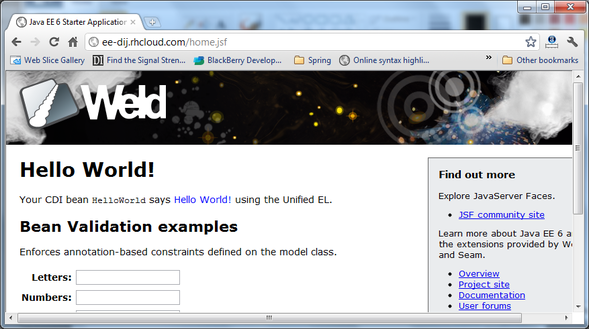
cp <myWarFile> <appName>/deployments/ROOT.war
git commit
git push
After pushing the remote repository, the web app can be viewed in a web browser at http://<appName>-<domainName>.rhcloud.com For this article, I created an app called “ee” on a domain “dij”. You can see the app at:
 SummaryThat’s all there is to deploying a simple Java EE app on OpenShift Express! Hopefully I’ve shown how easy this is - by using a few simple commands a Java EE container can be created in the cloud and a locally developed application can be deployed to it.
You can discuss this article here.
|
|